Thursday, March 29, 2012

More fabric baskets

In case you're not tired of my baskets already here are some more I just made last night and finished just this afternoon.
Enjoy!


Fabric purchases

My friend surprised me for my birthday (in January) with a visa card for $50 which I wanted to spend at Purl Soho. When I was going to use the card the guy said it's not working. I told him that it's $50, but for some reason he did not get it and instead of putting the amount in the register and swiping the card again, he just swiped it and it was declined. I called the card company and the automatic system confirmed the $50 balance. Since then I forgot about the card until recently I  found it in my wallet. I was browsing The Intrepid Thread website and laid  my  eyes on some fabrics I planned to buy. I wanted to see if my card was working this time, so I kept playing with the shopping cart until my total came to $49 and change. I've put my information in, and magically it worked! I was so happy. It was on Monday afternoon, today is Thursday and the package arrived. I got all excited and took pictures of it :) (Yes, I'm still like a kid inside when it comes to presents)


It made me feel special with a hand written note by Julie attached to it.

I slowly opened it and I found the stack of fabrics:


Yumm!
And now one-by-one:


Oh, and She even surprised me with two 5" squares which are also delicious!


I just wish I knew which collection they're from. Any idea? Anyone?

Now off I go to finish the 3 fabric baskets I started last night while watching Face-off for the 4th time in the last 4 days :) Every time I sit down to my sewing machine and turn my TV on Face-off is on and I just can't resist! I was sewing until 1:45 waiting for Fiance to get home from fishing. Will post pictures later! Have a sunny day! :)

Wednesday, March 28, 2012

Simple Easter basket

Last night I felt like creating something and I  thought I'll try to make the same Easter basket in a simpler version. This time I skipped the patchwork part and made the top from one piece of fabric. I kind of like it since I can display the pattern on it as opposed to the patches where I only had one fabric that I could fussy cut to fit the squares, on the rest of them the prints were just too big. It went a lot quicker and I was happy I could come up with this technique. To me it's just appealing. Hope you'll like it, too!


I will make a boy version also hopefully tonight! I'll keep you posted.

Tuesday, March 27, 2012

Changed my mind...

A few days ago I posted when I was answering Rhonda's 11 questions. Then I felt like I can't come up with my own questions, but later realized that I would like to post some to see if people would play along. I know I don't have many readers, but the ones I have I really appreciate. Soooo, if you have a few minutes, please consider to answer these questions so I could get to know you better.

Here they are:
  1. Who do you aspire to be like and why?
  2. What was the last goofy thing you did?
  3. If you could travel anywhere tomorrow, where would you go?
  4. What is your motto?
  5. What do you like to do the most in the quilt making process?
  6. What would be your recipe for creativity?
  7. Where do you get most of your inspiration to quilt?
  8. What question makes you anxious?
  9. What do you always avoid?
  10. What was the last book you've read?
  11. Where would you like to live after getting retired? (if you're still working, of course)


I'm looking forward to some answers! :) Thanks for playing along! (No pictures today)

Sunday, March 25, 2012

Questions answered

I've been idle this week due to not being home. My  friends went for a trip and asked me to stay over to look after their 2 doggies and a kitty. I've been taking long walks with the dogs and even longer cuddles with the cat :)
Spring is in full bloom this week so I took  some pictures with my phone on our walk a few days ago. Unfortunately I can't share the smells with the pictures, they were amazing!


I  had kind of a rough morning today. We decided to neuter our boys since they're more inside cats than outside. I just can't deal with the 4 AM singing every day anymore. They go outside, but come back in after a while and would not be OK to be outside 24/7. We were planning to slowly increase their outside time, but it just does not work that way. They stay inside most of the day and just like to  lay in front of the entrance door and sniff at the bushes when it's sunny.
They were terrified when we put them in the box. I had to pull over after 5 minutes of driving to put them on the seat next to me so I could put my hand through the cage and pet them to let them know I'm there. It  was wearing me down, I've never had any animals neutered before so I just didn't know what to expect. They were done so quickly that I was on my way home with them within an hour and a half. They're recovering and it just makes me really sad that I can't be with them right now. One of them is my baby since I had to bottle feed him since he was  born (Mama cat abandoned him), he thinks I'm his Mommy :) We  love them both dearly!
I'll be back  to normal on Tuesday and will dive into the sewing room with full speed! I miss my sewing heaps. I did some hemming and small house-type sewing by hand, but it's not the same when it doesn't involve a sewing machine  or at least a quilt! I could do a big dent on catching up on podcasts. I've been listening to Pam's Hip to be a  Square podcast and I'm on episode 43 already! I only started a week ago on Friday (been driving around a lot).
Next week (which for me starts on MONDAY)  I'll be working on:
  • more Easter baskets, this time I won't be piecing nine patches, but use a whole piece of fabric for the sides
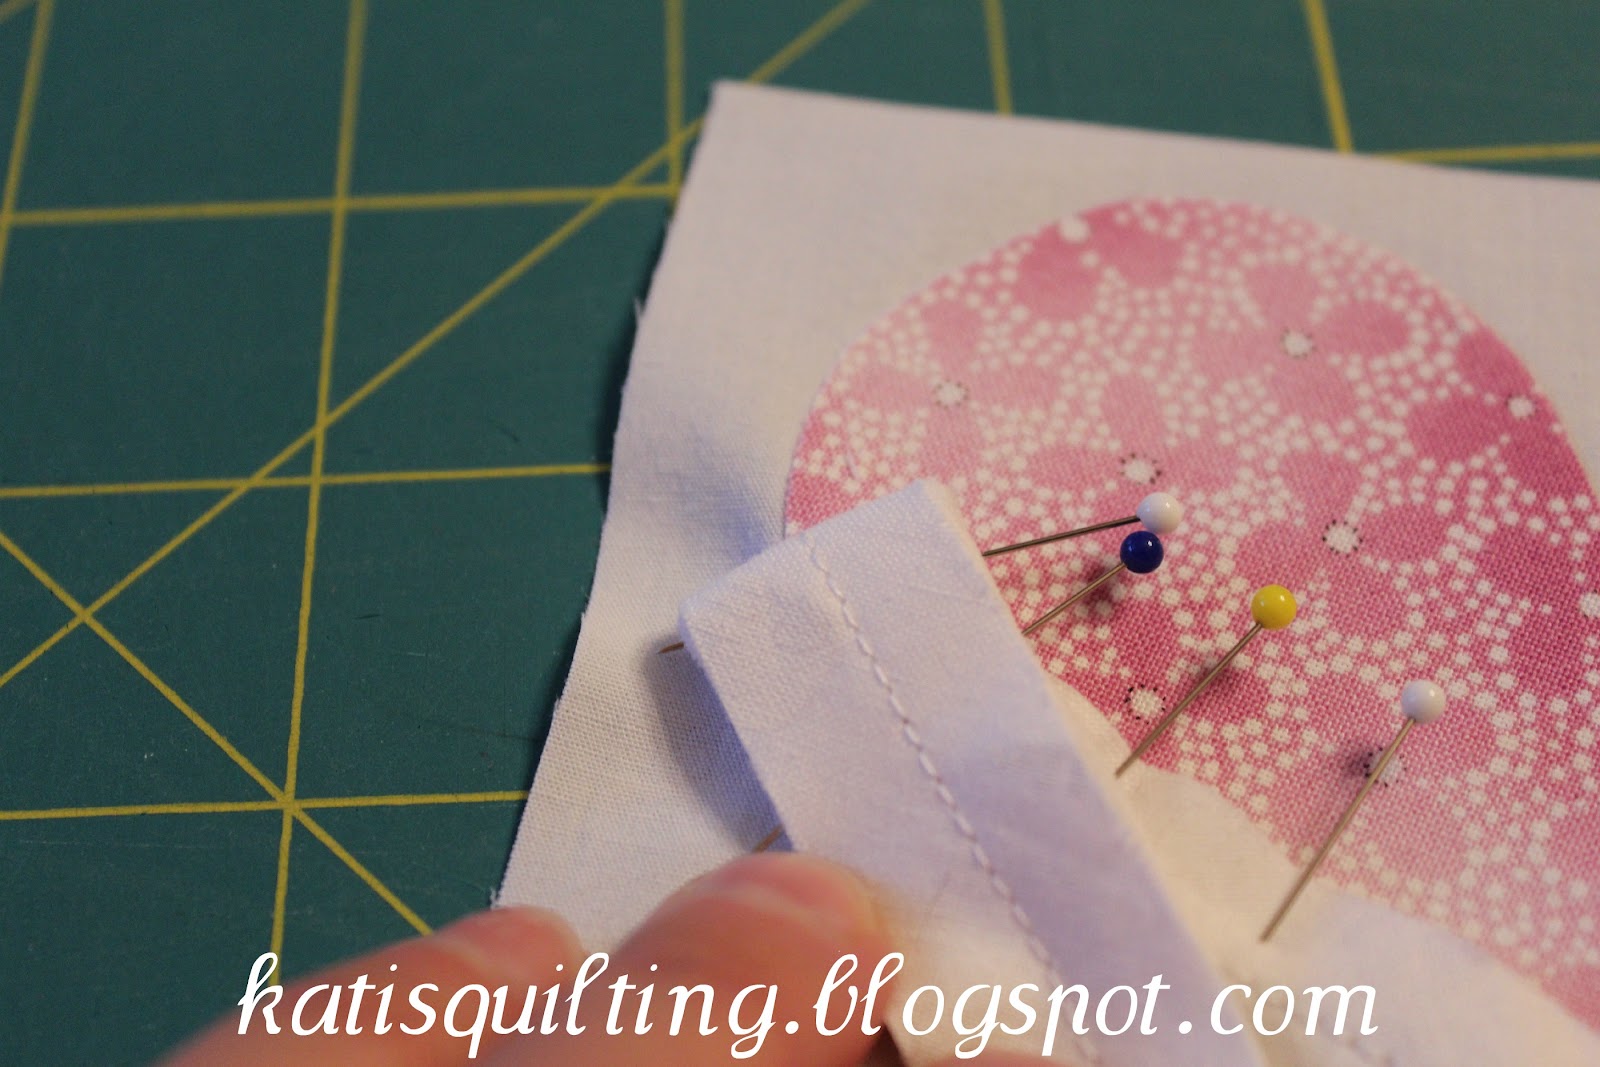
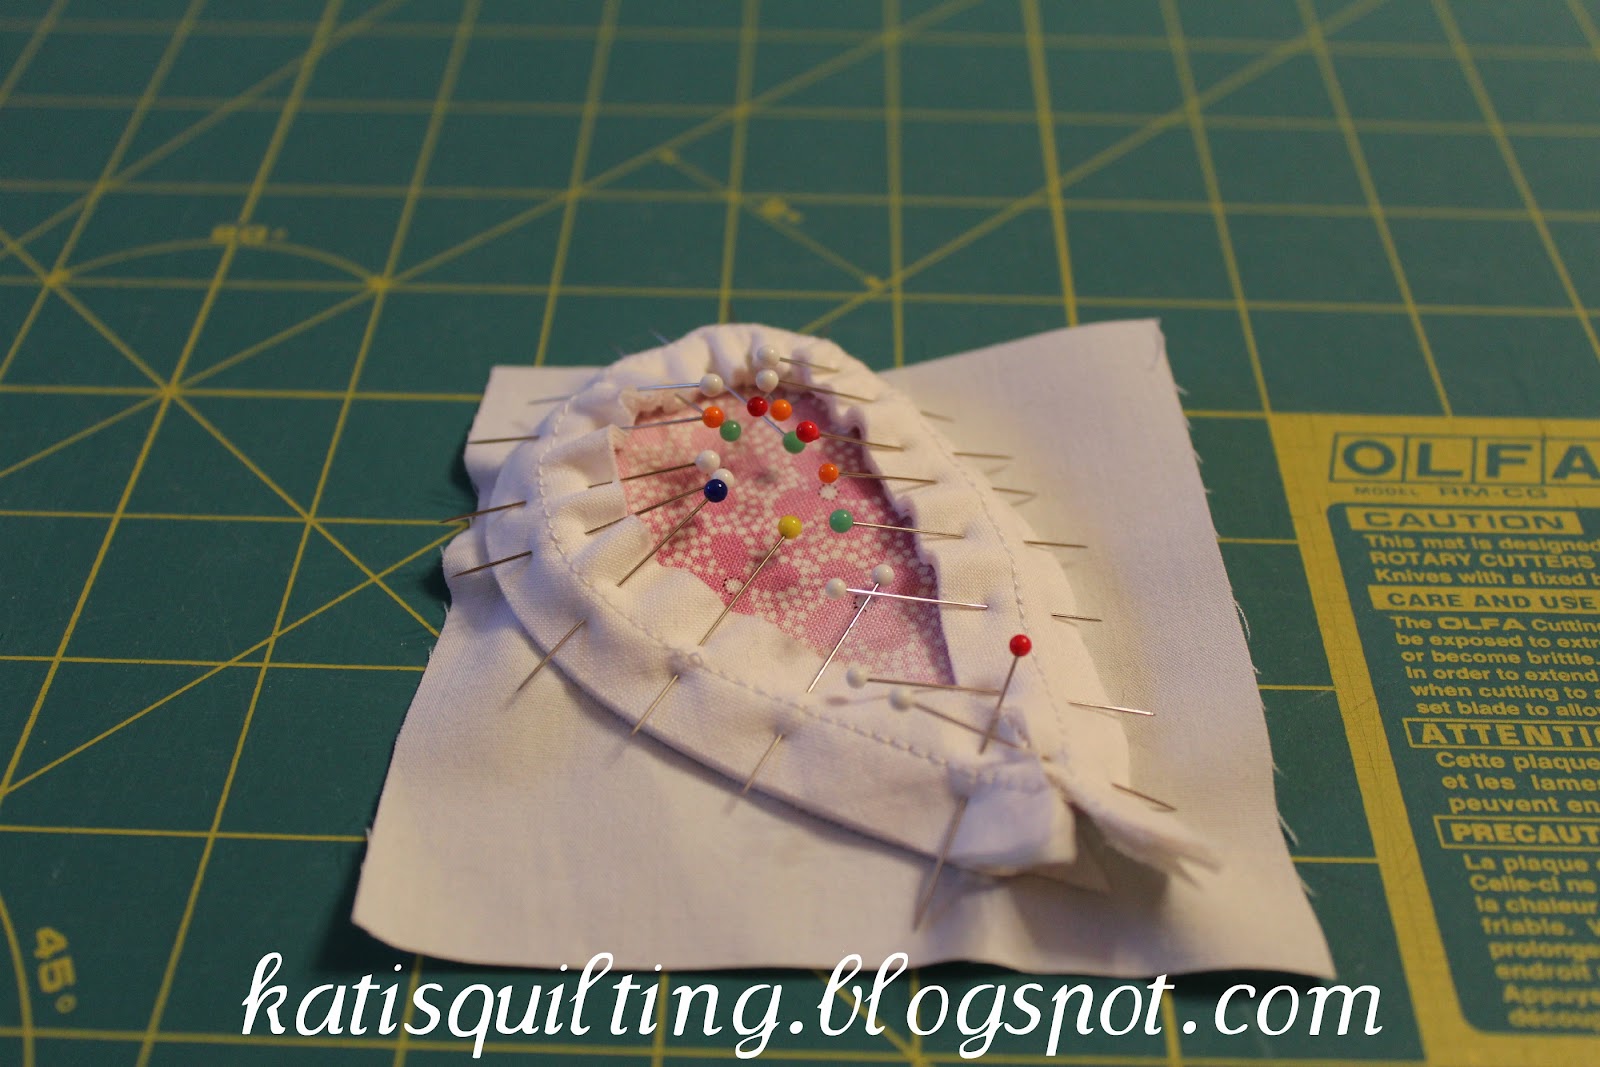
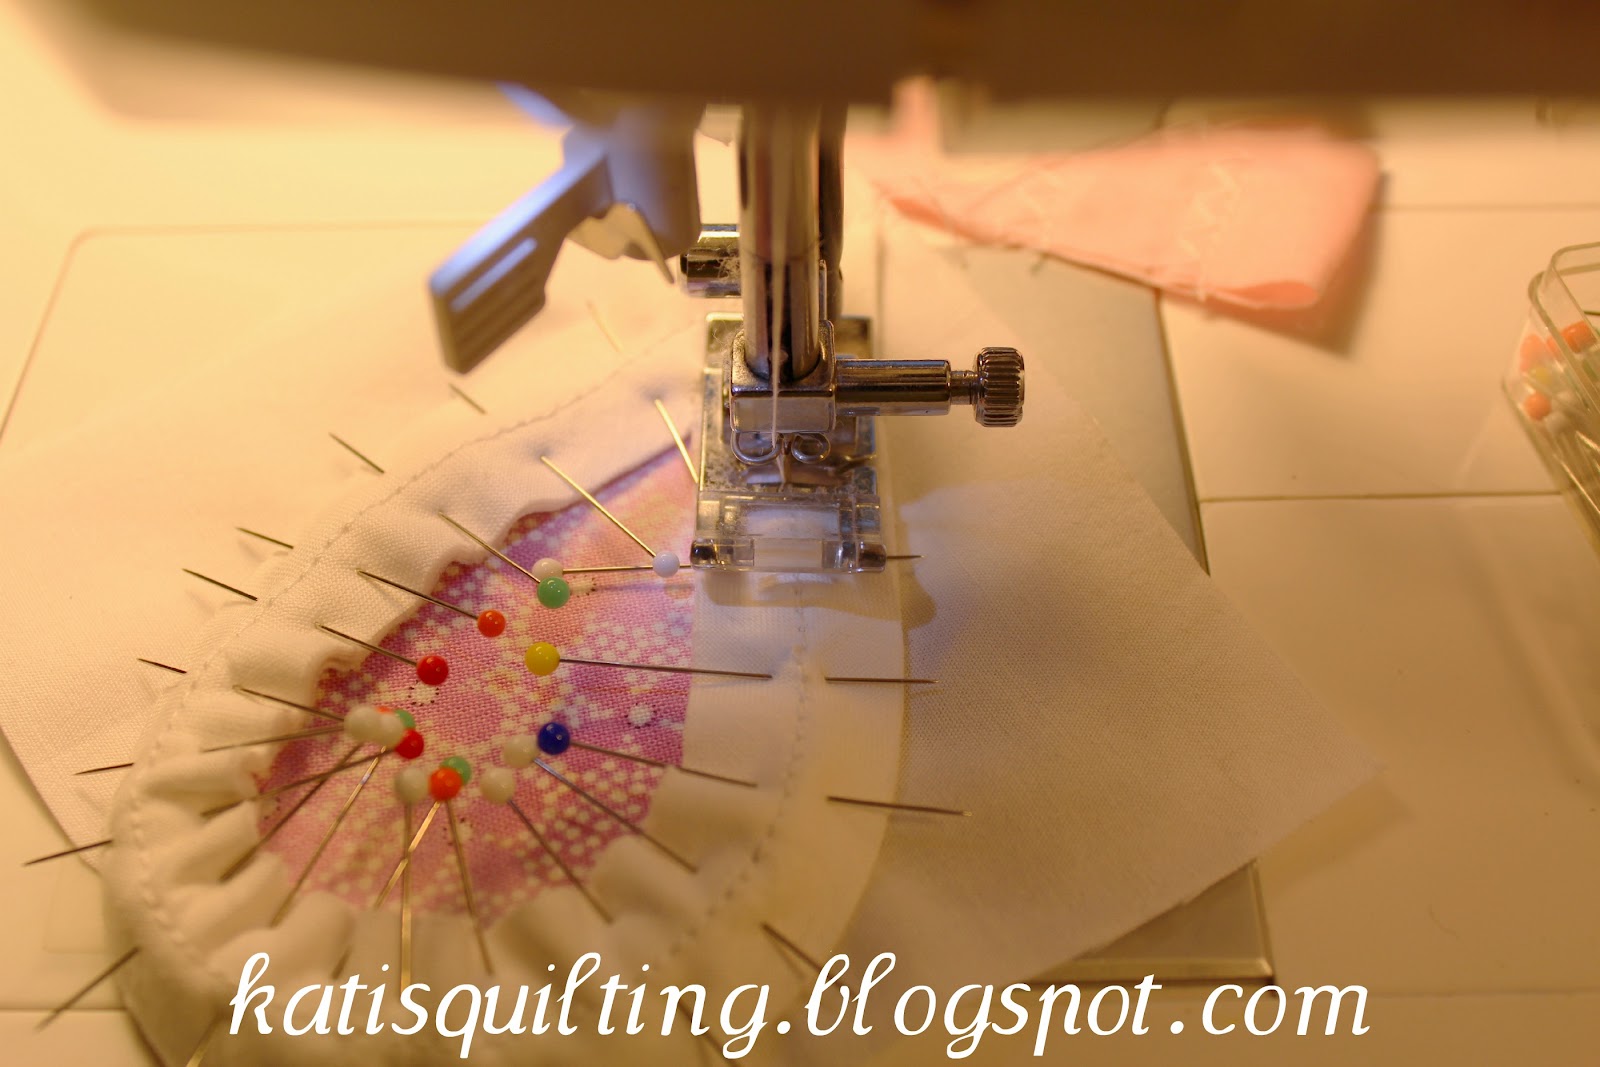
  • trying to make a wrap Easter basket from Katie's tutorial
  • start  piecing the backing for the log cabin quilt
  • more organizing in my sewing room
Despite the fact the I'm away from home I have a little more time to read. I've found these questions on Rhonda's blog so I thought I might just play along and answer them.
Here we go!

1. What's your favorite part of the quilt making process?
Binding, hands down! There's  no better feeling than stitching the binding on and when you're finished, you're DONE! Besides,  I love to do handwork.

2. If you had to pick one favorite quilt who's/which one would it be?
Bohemian Rhapsody by Ricky Tims. I love the look of applique, feathers and hand dyed fabrics and he combines the three.

3.  If you had to pick one favorite quilt who's/which one would it be?
I  also love Karen McTavish's whole cloth trapunto quilts. I think they look amazing! (Don't have a specific favorite)

4. Give me an example of something you have made that you are really proud of?
My last finished quilt called Lili's flowers. I used chenille technique on it and people were going crazy, so I  had to make a tutorial  which was featured at craft gossip :)

5. Who in your life do you most admire and why?
My grandparents. They have so much determination. They always had so much energy and just kept going no matter what without a complaint. Now they're old (Grandpa almost 89, Grandma 82) and slowing down.

6. If I were coming over for dinner what would you cook me?
Either my killer turkey burger  (no bun) or some special Hungarian dish, I would let you choose :) 

7. If you could buy any fabric bundle you could right now (someone else was paying) what would it be?
Good Fortune by Kate Spain. I just haven't seen any fabrics by her that I didn't like. She's my favorite at least for now!

8. What's your favorite movie?
Now this is a tough one. I'm not famous for making up my mind :) Probably the Lord of  The Rings trilogy

9. If money was no object, what's your favorite holiday?
Again... so many places to see! Australia and New Zealand to start with :) Why is  Zealand underlined in red????? I even googled it just to make sure of the spelling :)

10. What part of your body do you like the most?
My eyes

11. What  inspired you to first start sewing/quilting?
My Mom went to tayloring high school. When I was about 11 She started to work from home to make heavy duty working gloves. I watched  her a lot and wanted to learn how to sew. So when She wasn't working I sneaked down to the  basement and started to sew myself. When She noticed because I goofed up something She banned me and offered her treadle Singer sewing machine. I made a lot of clothes for myself through high school and when I started to work. Then one day my cousin showed me a simple patchwork quilt made from squares in a store window I thought to myself oh, it's easy, I can make that! But  I just never tried quilting... not until about 5 years later when I started to watch  Simply Quilts on TV in 2000. 

Since I'm not famous (yet, haha!) I will not post any questions. I  just wanted to show Rhonda that She still has some readers who care to answer her questions. Thank you Rhonda, it was fun!

Monday, March 19, 2012

Easter baskets.... DONE!

After an afternoon of sewing I can finally cross the first finish off my list of to-do's. I was eager to  just get over these fabric baskets that I made for the kids we're having over for Easter. I'll put some grass and chocolate in them to make them even more fun :) Fiance convinced me that it's a good enough size to gather some eggs in them on the Easter egg hunt so I didn't change the sizes.

These 2 are for the boyZ:


And these are for the 3 girlZ:


My helper #1 has managed to squeeze himself in the smallest plastic he could find empty... :)


I think I'll need some butter to get him outta there! :D

Saturday, March 17, 2012

Cute Easter basket, first try

I've been itching all week to get to my sewing room and get something done from my list to be made and post it on the blog. I  was searching equally on blogs and Pinterest to find a cute Easter basket tutorial. I've found several, some of them were really cute ones! I decided to go with this tutorial. It's from 2008 which I only noticed at the end when I had a question. I just  couldn't get the handle instructions right so I made it my way. As usual :) Also I  changed a pattern a little bit and only did 1 handle instead of 2. I think  it came out pretty nice! The next one I'll make will be either twice as big, or 1.5x. I think this is on the small side. I had a VERY hard time turning the whole thing inside out through the 2"opening with the fleece and everything. Poor basket wrinkled up considerably. I had to press it when I was done to take the photos. Also I think I'll put some stabilizer to stiffen it up a little.

With making this basket it was my first time:

  • making a bag of any kind
  • making a handle
  • boxing corners
All in all I'm happy the way it turned out. If you need a tutorial for a cute Easter basket, check it out!

Finally some pictures of the finished product, enjoy!


Friday, March 16, 2012

Fantastic fabric giveaway

Reading  my blogs I found a really nice giveaway on Melissa's blog sewbittersweetdesigns.com here. The blog is just fantastic and She's giving away a fat  quarter bundle from Desert Daydreams in Santa Fe Sky. You can see the fabrics here:


They're just too yummy to pass!

Also, Intrepid Thread has a sale on the whole collection for 30% off as a daily deal just for today!  You can check out the collection under  this link.
If You want to enter the giveaway I wish You good luck! (I did, so I'll just keep my fingers crossed:)

Monday, March 12, 2012

Double wedding ring test block

Yesterday was a nice day for sewing. Daylight saving started and I just felt like the day flew by. We kind of slept in and had a late breakfast which means late lunch. Yes. At 2:30. It was nice and sunny, but kind of windy and we decided not to go hiking as planned. I thought it would be a great time to take out the double wedding ring templates and start playing with them. It was a brand new package which I got as a present from Katie. It's Sharlene Jorgenson's method of making the Double Wedding Ring quilt which I found demonstrated on Youtube here. The templates are awesome! I only have one rant about the product since in the booklet that comes with it it states that you'll have to put felt dots in the corners of the templates. It comes with 3 small shapes, 3 large arks, a melon shape, and a curved square shape. That's 30 corners all together. The package only includes 28 little dots. No big deal, on one of the arks I only used 2 dots on the side, I'll work it out.
And now the fun begins! I read the instructions and had a little bit of a hard time understanding for the first time, but I thought to myself to make a test block so I can figure everything out. And boy I had my work cut out for me... :) I took out my cheap tablecloth fabrics which I specifically bought for making test blocks and to practice my free motion quilting skills. They're ugly colors, but who cares! I'd cut out the shapes for 2 blocks (I was so enthusiastic), but ended up making only one. The instructions were OK, except they forgot to state if you'll need to use the background, or the arc fabric. Needless to say I started to cut out the arch from the background fabric :) Oh well :) 
I'm glad I've made this block. I made a mistake in sewing the corner stones on the wrong way and when I had to assemble the block things didn't match.   First I thought it was the crappy quality fabric, then I looked at it a little closer and the corner stones were arcing in the wrong direction. Since the directions didn't state which way to sew the piece on I had to take a better look at the illustration and figure out the right position. I had to rip all my stitches out and start all over. Fun! NOT! With this test block my seam ripper and I became best friends. Again. 
Getting over this little glitch I started to sew the block to the center piece and I was quiet happy. My points matched perfectly (not my arc points though...). At the second piece instead of pinning the purple arc on the inside I pinned the pink one. I never realized it until I've sewn the whole piece on and at the corners instead of getting one light and one dark I had two lights next to each other. Of course since I had to sew with the colored arc on the bottom I never looked at it if I had the right positioning. By that time it was 11 PM  so I ripped out the stitches, pinned the piece in the right way and called it a night. This morning after breakfast I got to work again and finished the block. It doesn't look bad, but I'm hoping the actual block with the  nice fabrics will look a lot better. After all my purple fabric is stretching like crazy... but what was I expecting?

It was my first time:

  • working from a pattern
  • making a test block
  • do curved piecing
  • using acrylic templates
  • using the itty-bitty rotary cutter (18 mm I think)

Anyway... I still really like the templates, even more glad that I've tried making the block  and didn't just dive in head first. I learned my lesson, that's for sure. It's my first time working with a pattern anyway. Of course with all that I did not even bother taking out my good ironing board to press the piece properly so forgive the wrinkles please! Here's a picture of my art piece, enjoy! :)

The right bottom corner was the first seam where the purple arcs had to meet 


Wednesday, March 7, 2012

Spring is almost here!

I was kind of busy this week, even though my hands are itching to try the newly gifted templates for the double wedding ring pattern. I however started to embroider the label for Lili's flowers. Pictures is coming up later!
Instead, Fiance took some cool shots yesterday which prove that Spring is right around the corner! We had a VERY mild winter, including only 2 snowstorms, 1 last October and the other one in January.

Here are the cool pics, enjoy!


Sunday, March 4, 2012

How to sew the chenille strips on (tutorial part 2)

In my last post you got to the part where you had your chenille strips ready to go. In this  post I will demonstrate how to sew them on the flower petals in my case, but they could be outline to anything you desire.
So for this demo I started with a 4" inch square and I fused a flower petal on it. Of course you have  your own fused flower, etc. that you will start with.


Next you'll need to  pin the chenille strip on the edges in a way that the stitches in the center of the chenille strip should line up about 1/16" from the edge of the petal like this:
How to make chenille strips


Make sure you stay consistent in the curves and don't make the strip too tight.


After pinning it should look like this:
Note that I used the pins a lot more frequently in the curves.

Don't  panic because your work will not be flat.


Start sewing the strip on following the sewing line in the middle. Take your time! When you get to the curve only take 2-3 stitches then stop and remove the next pin. If you have needle down position on your sewing machine now is the time to use it.


When you're done sewing you'll  be at  this stage:


Again,  your strips will not lie flat, but it's OK!

Normally after this step you'll piece your blocks together, sandwich, baste and quilt your quilt, then put the binding on. After all is finished it's time to throw it in the wash. When it comes out nice and clean, you'll need to dry it until the whole quilt is dried completely. With my demo I skipped these steps since I didn't want to make another quilt :) Caution: do  not start to brush the strips until the whole quilt is stabilized. If you don't want to wash and dry it, that's fine! It just makes the brushing easier because it loosens the fibers up (Is that the right term?)

The next to last thing you'll need to do is spray it with a little water. A little  mist is fine, it doesn't have to be soaking wet.


Now last, but not least, brush away!


It will be nice and fluffy when you're finished! I obviously did not have the  patience to finish, but you get the picture!


Your brush will have lint all  over so you'll need to clean it very frequently.


 I collected the lint pieces in this container.  It was full by the time I finished brushing all the flowers on my quilt.


Note to people with dust allergies: You  might want to wear a mask of some type. I don't have any allergies, but I looked like I had a cold by the time I  was finished.

Let me introduce my 2 helpers (NOT!) who were in my way the whole time. By the end they were so tired of helping me they needed to take a nap!

Kormi


Szundi

Hope you enjoyed this tutorial as much as they did!

How to make chenille strips tutorial (part 1)


When I  posted my Lily's flowers quilt people were commenting on the chenille part. Mary was asking me if I had a link to how to make it. I've searched on Youtube hoping that I could find a video tutorial, but only found the ones that were the whole chenille fabrics, but not the strips that you brush in the end. I don't want to disappoint, so I decided to do my first tutorial. Hope the explanation will be clear, if anyone has any questions please leave a comment below.
Please read from beginning to end before you start working so you can understand all the steps clearly.
To start You'll need:

  •  background fabric with any shape of  flower fused on it. It doesn't have to be stitched down at this point, it's your choice (mine wasn't stitched before the chenille strip was sewn on)
  • 5 pieces of  12" squares of plain solid fabric, the color of your choice. I made the demo with white muslin
  • enough freezer paper to cut a 12"  square 
  • rotary cutter, ruler with 1/8 inch markings
  • iron, ironing board
  • pencil
  • regular ruler, preferably with 1/8 inch markings
  • pins
  • sewing machine, thread


Here's what you'll need to do:


Take 5 pieces of 12"squares of muslin:
How to make chenille strips tutorial
Step  1 

Cut a 12" square out of the freezer paper ( I did it with  the  rotary cutter and ruler)
Step 2 

Iron the freezer paper square shiny side down (very  important!) on one of the muslin squares.
Step 3 

With a pencil draw a line on the freezer paper diagonally from corner to corner.
Step 4 

Draw parallel lines 3/4 " apart starting with the one in the middle. I did not draw it all the way to the edges since those were not going to be  long enough for my project.
Step 5  


Layer fabric squares, keep the drawn freezer paper on top
Step 6 

Pin the layers together. Note that I did not pin on the center line which will be my fist sewing line. Also note that I pinned perpendicular to the lines.
Step 7 


Sew on the lines with a shorter stitch length.  You need shorter stitches to make sure to be able to remove the freezer paper easily.
Step 8 


After it is sewn it'll look like this:
Front after sewing 


Back after sewing 


Now it's time to tear away the freezer paper! In order to do that fold the freezer paper and crease it really good with your fingernails or a creasing bone before tearing.
Step 9 

After all the freezer paper is gone you'll have your square looking like this:


Now you'll need to take a long enough ruler and cut the strips 3/8 inch from the sewing line. Start in the corner by cutting off the triangles first. I suggest using the rotary cutter in this step because the strips could shift when you use scissors since you have to cut through 5 layers of fabrics.
Step 10 


Voila!  You have your chenille strips ready to be sewn on your project!


More coming up when I demonstrate how to sew the chenille strips on the flower petals and get the final fluffy chenille look.
You can find these tutorials pinned to pinterest:
http://pinterest.com/pin/253679391480525625/ part 1
http://pinterest.com/pin/253679391480528453/ part 2