It's been a while again since I posted last time. Life got in the way which I would not like to explain right now, maybe in a while after everything is settled. I promised to post a tutorial about how I'm measuring and attaching the border on my quilt top without using a measuring tape.I use this method every time I have to put a border on a large quilt.
First, press the top, and lay it out on a hard surface. Then measure the sides of your quilt to determine how long of the border strip you need to make. You take 2x the length, + 2x the width of your top. Add about 10 inches to be on the safe side. Take your continuous border strips to the top, and lay it down in the middle lining up the edges.

The next step is to fold the border strip back, and cut with scissors, matching up the fold with the edge of the quilt top.

Then holding up the strip that was just cut, line up the ends with the rest of the uncut border strips carefully.

Cut the end the same way, folding back the longer strips, matching the fold with the end of the border strip.

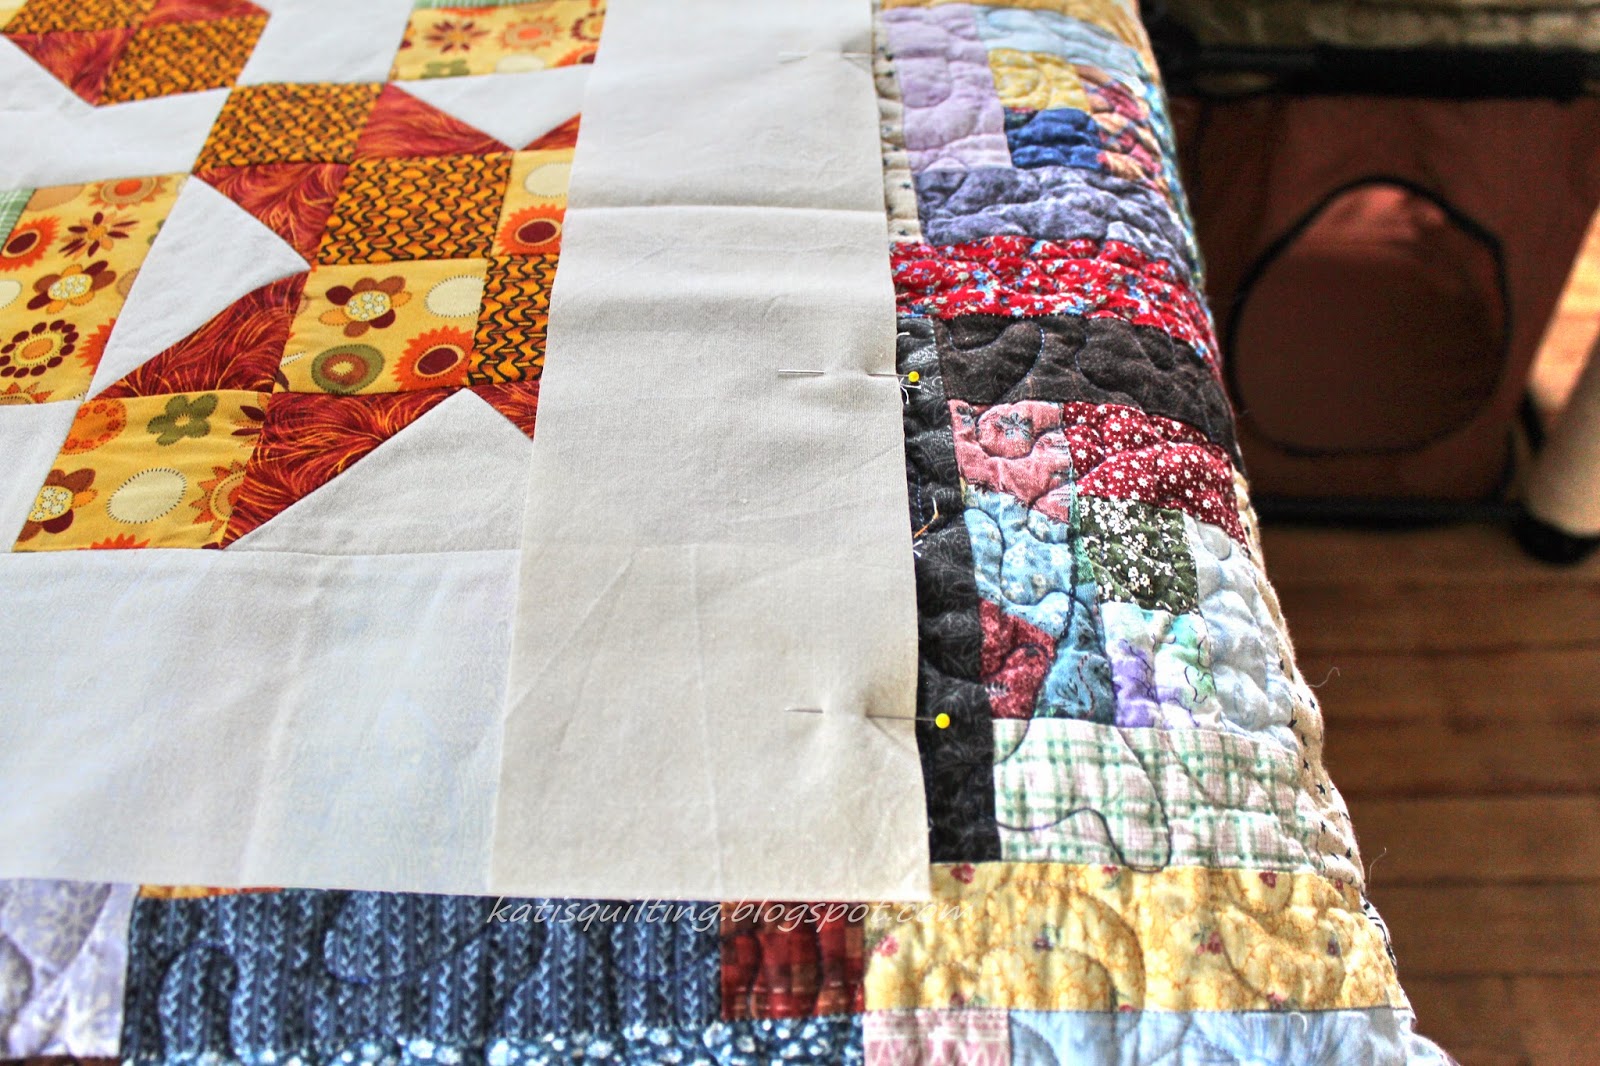
Pin the borders in place, and sew it on. After pressing, repeat all the steps with the other 2 sides.
Easy peasy :)
I'm working on my Lucky Star quilt top, putting the borders on, this time mitered. That'll be my next post.
'Til we blog again! :)